
Let’s be honest, breakfast can be a struggle. We all want something delicious, satisfying, and maybe, just maybe, a little bit healthy. But who has the time to mess around with complicated recipes before a pot of coffee has even hit the counter? I used to stare longingly at store-bought bagels, knowing they were a delicious trap of refined carbs and zero protein. I thought I had to choose between speed and flavor, or worse, between health and happiness. Well, that was until I stumbled upon the glorious, life-changing world of Greek yogurt bagels. These things are not just a good alternative; they are an absolute game-changer. They’re fluffy, they’re chewy, they’re packed with protein, and most importantly, they’re ridiculously easy to make. No yeast, no waiting, no tears. Just pure, fluffy bagel joy.
Ditch the Dough Drama: Why Greek Yogurt Bagels Reign Supreme
Ever tried to make traditional bagels at home? It’s a whole thing. You’ve got to proof the yeast, knead the dough, let it rise, punch it down, let it rise again… Honestly, who has time for all that drama before 7 a.m.? The beauty of Greek yogurt bagels is that they skip all of that. The magic lies in the simple combination of two ingredients: Greek yogurt and self-rising flour.1 The yogurt’s acidity reacts with the leavening agents in the flour to create a fluffy texture without a single grain of yeast. It’s science, and it’s beautiful.
But it’s not just about speed. These are also a far healthier bagel option. Think about it: a regular bagel is basically a giant dough ball with very little nutritional value. A Greek yogurt bagel, on the other hand, is loaded with protein from the yogurt, which means it actually keeps you full and energized until lunch.2 I personally love knowing I’m starting my day with a serious protein boost, not just a carb crash waiting to happen. It’s a win-win, IMO. You get the fluffy, chewy texture you crave, plus the healthy benefit you want.
The Two-Ingredient Magic: Your Bagel Base
So, what’s the secret to this two-ingredient marvel? It’s all about the combo.
- Self-Rising Flour: This stuff is your best friend. It’s essentially all-purpose flour that already has baking powder and a little salt mixed in. That’s the key to the rise. If you don’t have it, you can easily make your own by mixing 1 cup of all-purpose flour with 1 ½ teaspoons of baking powder and ¼ teaspoon of salt. See? I told you it was simple!
- Greek Yogurt: This is the other half of the dynamic duo. I’ve found that a thick, full-fat Greek yogurt works best for me. It’s less watery, which makes the dough much easier to work with. If you use non-fat, you might need to add a little more flour to get a cohesive, non-sticky dough. Don’t be afraid to eyeball it—this recipe is super forgiving.
The ratio is typically a one-to-one mix, but I’ve learned that a slightly heavier hand with the yogurt can sometimes yield a fluffier result. It all depends on the brand of yogurt you use and how humid your kitchen is. My personal pro-tip? Start with the base recipe and then add more flour, a little at a time, until the dough is no longer sticky.
Let’s Get Baking: The Step-by-Step Guide
This is the fun part. You get to play with your food a little and turn a sticky blob into a beautiful, ready-to-bake breakfast.
The Dough: Knead It Right
Get a medium-sized bowl and combine your flour and Greek yogurt. Use a spoon to mix until a shaggy dough forms. Then, you’ll get your hands in there. Turn the dough out onto a lightly floured surface and knead it for about 2-3 minutes. You’re not trying to develop gluten here, just bring it all together into a smooth, cohesive ball. You should feel the dough start to become less sticky and more elastic.
The Shape: A Bagel is Born
Once your dough is ready, it’s time to form your bagels. I usually divide the dough into four equal pieces. The best way to do this is to roll each piece into a small rope and then connect the ends to form a circle. Another way is to roll it into a ball and then press your thumb through the center to create a hole. I find the rope method gives me a more consistent shape, which, let’s be real, is a good feeling. Don’t worry about perfection; your homemade bagels are supposed to have character! 🙂
The Finish: Top ‘Em Off!
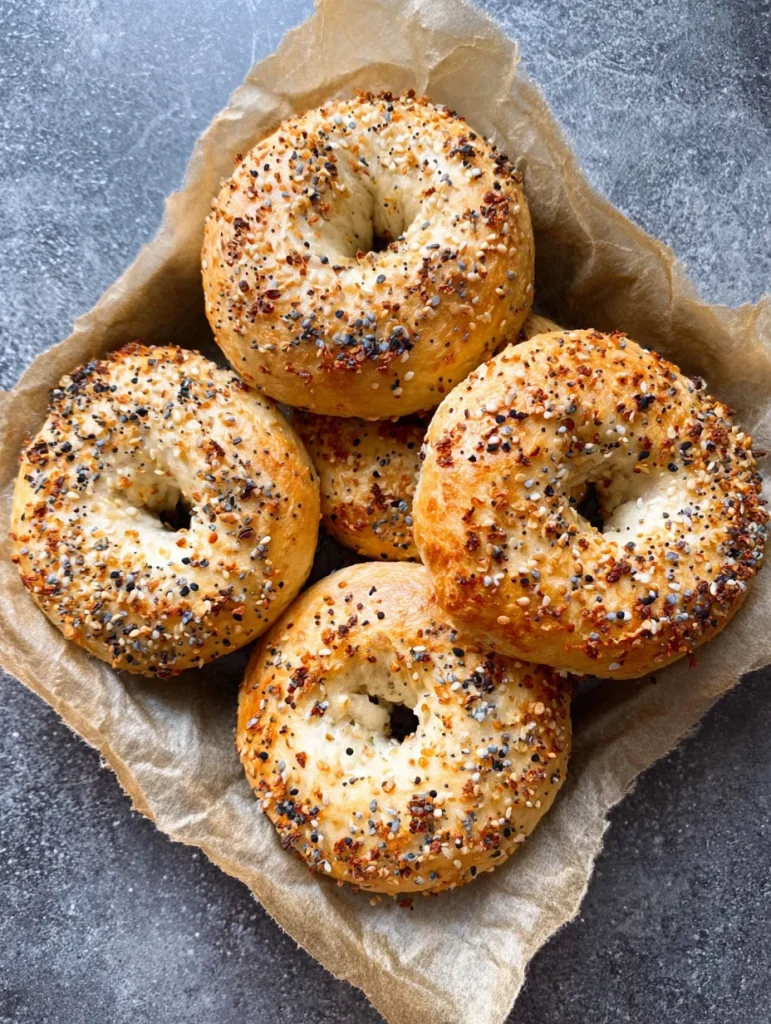
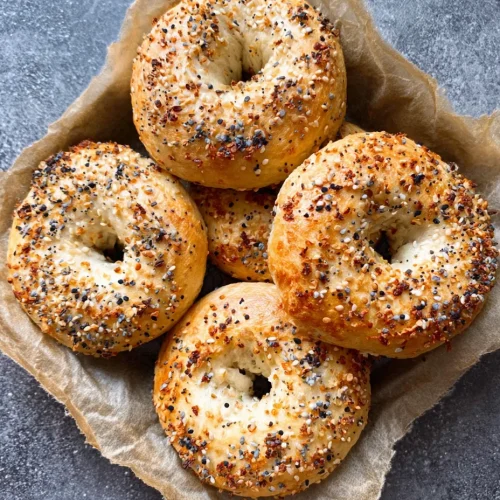
This is where you make them truly yours. For that golden, slightly crusty exterior, give them an egg wash. Simply whisk one egg with a tablespoon of water and brush it over the tops of your bagels. Then, load them up with your favorite toppings! A good dusting of everything bagel seasoning is my go-to.
Now, for the baking.
- Preheat your oven to 375°F (190°C).3
- Place your bagels on a baking sheet lined with parchment paper.
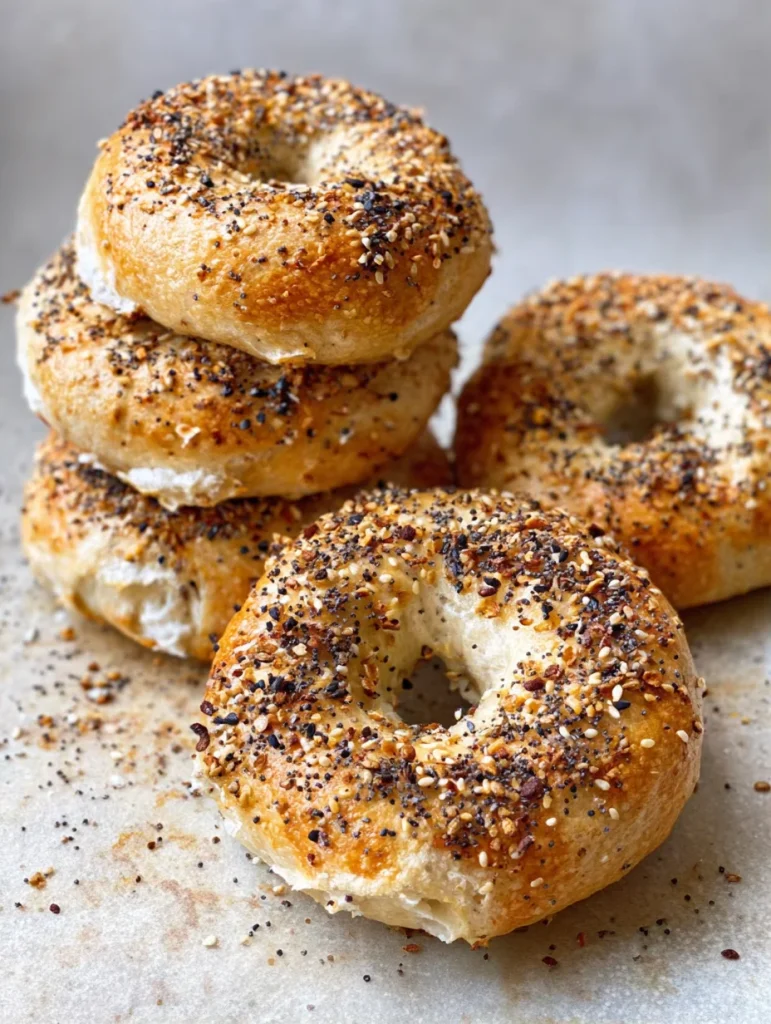
- Bake for 20-25 minutes. You’ll know they’re done when they’re golden brown and sound hollow when you tap the bottom.
My Bagel Remixes: Flavor Combos to Obsess Over
The base recipe is great, but the real fun starts when you get creative. The possibilities are endless, and I’ve spent way too much time experimenting with different flavors. Here are a few of my favorite bagel remixes:
- Cheesy Jalapeño: Mix a handful of shredded cheddar cheese and some chopped pickled jalapeños directly into the dough before shaping. Top with a little more cheese. This gives you a savory, spicy kick that pairs perfectly with a smear of cream cheese. My personal favorite savory option, hands down.
- Cinnamon Sugar Swirl: This is for my sweet-toothed friends. Mix a teaspoon of cinnamon and a tablespoon of sugar into the dough. Then, after shaping, brush with melted butter and sprinkle with more cinnamon sugar. These are incredible fresh out of the oven.
- Sun-dried Tomato & Herb: Add finely chopped sun-dried tomatoes and a tablespoon of dried herbs like oregano and basil to the dough. This gives them a rich, almost pizza-like flavor that works so well with lunch sandwiches.
Troubleshooting for Total Bagel Success
Even the simplest recipes can have a few hiccups. If you run into any of these issues, don’t worry, I’ve been there.
- My dough is super sticky!
- This is the most common issue. Your yogurt might be too watery. Just add a little more flour, one tablespoon at a time, until the dough is manageable. A little stickiness is fine, but you should be able to knead it without it getting everywhere.
- My bagels are dense and don’t look fluffy.
- This usually means you either over-kneaded the dough or your flour-to-yogurt ratio was a bit off. Next time, try adding a little more yogurt or kneading for a shorter period.
- My bagels don’t look like a bagel!
- That’s okay! They still taste amazing, right? Practice makes perfect. Don’t get discouraged. Just keep making them, and your shaping skills will improve.
FAQ: Your Most Pressing Bagel Questions Answered
I know you’ve got questions. I’ve heard them all. So let’s get down to brass tacks.
- Q: How long do Greek yogurt bagels last?
- Fresh out of the oven, they are at their peak. After that, you can store them in an airtight container at room temperature for about 3 days.4 After that, they tend to get a bit hard. My advice? Eat them all!
- Q: Can I freeze them?
- Yes! This is a great way to have fresh bagels on demand. Let them cool completely, then place them in a freezer-safe bag or container. They’ll last for up to 3 months. When you’re ready to eat one, just pop it in the microwave for 30 seconds to thaw, then toast it.
- Q: What if I don’t have self-rising flour?
- No problem at all! You can easily create your own with all-purpose flour, baking powder, and a bit of salt.5 It’s a simple hack that makes the recipe work just as well. Trust me, I do it all the time.
2-Ingredient Greek Yogurt Bagels
Equipment
- Mixing bowl
- Spoon
- Baking sheet
- Parchment paper
- pastry brush
- cooling rack
Ingredients
- 1 cup self-rising flour
- 1 cup Greek yogurt (full-fat recommended)
- 1 egg (for egg wash)
- 1 tbsp water (for egg wash)
- toppings of choice (everything bagel seasoning, sesame, etc.)
Instructions
- Preheat the oven to 375°F (190°C). Line a baking sheet with parchment paper.
- In a medium bowl, combine self-rising flour and Greek yogurt. Mix with a spoon until a shaggy dough forms.
- Transfer dough to a lightly floured surface. Knead for 2–3 minutes until smooth and elastic.
- Divide dough into 4 equal pieces. Shape each into a rope, then connect ends to form a bagel shape (or press thumb through the center).
- Whisk egg and water together. Brush tops of bagels with egg wash, then sprinkle with desired toppings.
- Bake for 20–25 minutes until golden brown and bagels sound hollow when tapped underneath.
- Cool slightly on a rack, then enjoy warm or toasted.
Notes
💡 Storage tips: Store in an airtight container at room temperature up to 3 days, or freeze up to 3 months.